Notification API for developers
Trigger email, SMS, WhatsApp, push, and in-app notifications from your backend with one multichannel notification API.
Configure and test a reusable handler in Nudge. Pass recipients and event data from your application, then inspect the notification event to see what happened.
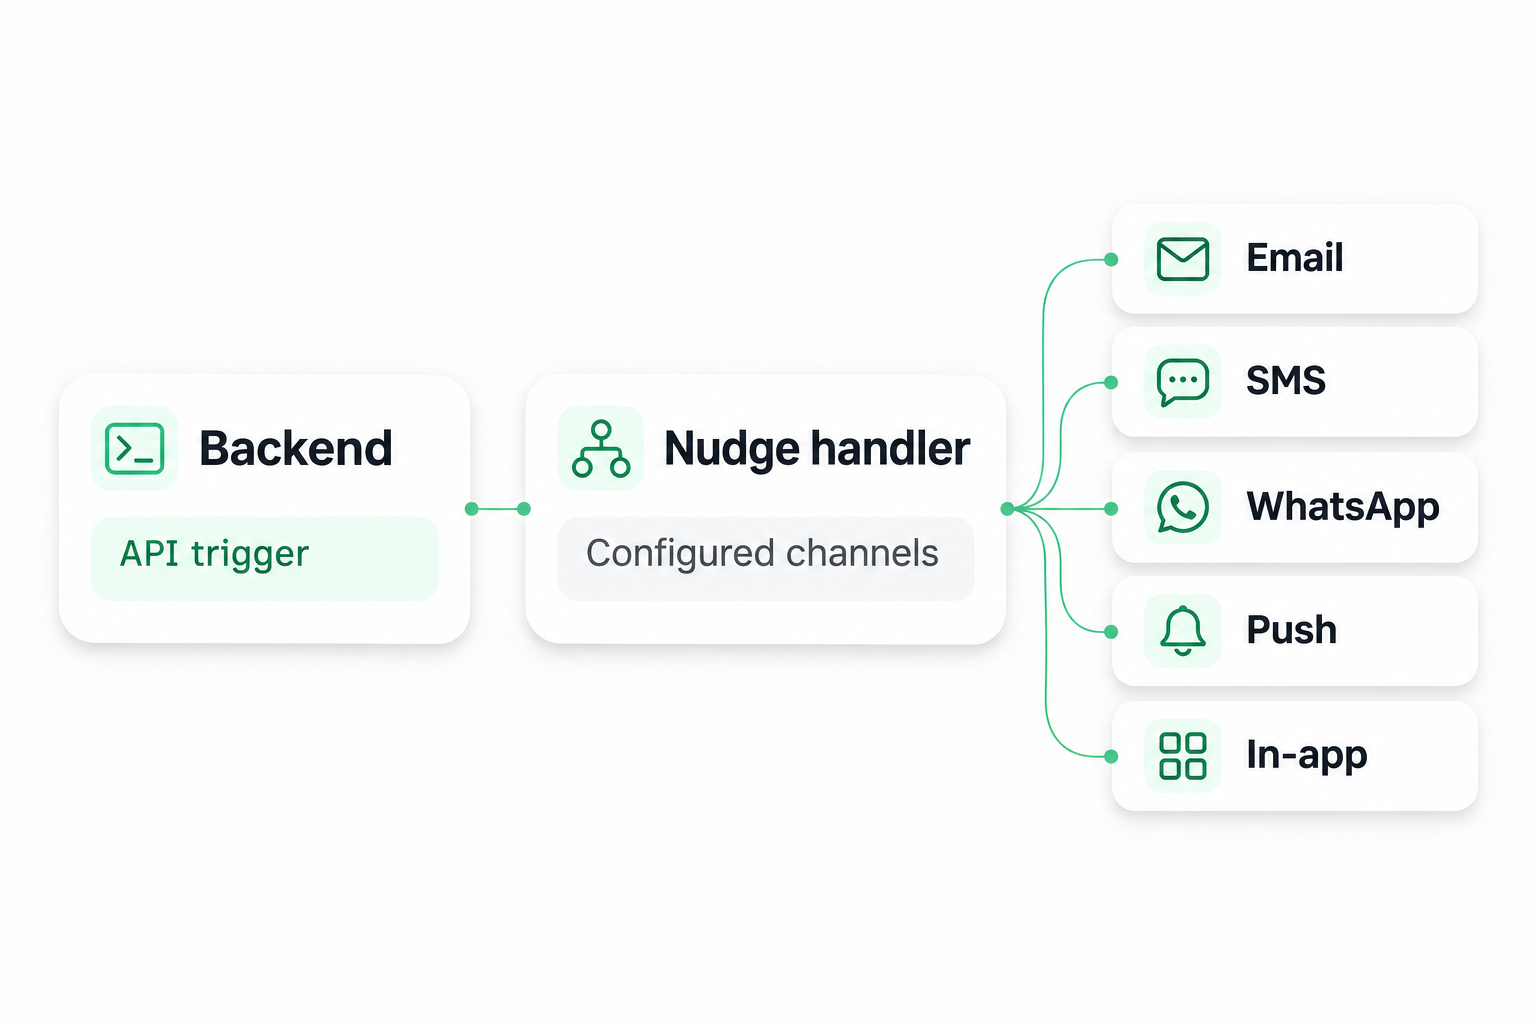
Test in the app or trigger from your backend

Test a handler in the Nudge app
Validate the configuration
Open Test Handler to preview overrides and check the notification with one known recipient before connecting a live event.
- Edit test inputs as JSON to check channel selection and template data.
- Copy the generated cURL request to test from a controlled server-side environment.

Trigger a notification from your backend
Connect a product event
When your application detects an event, call the configured handler with the intended recipient and the data the template needs.
- Use the client key and secret in the backend request.
- For an export completion, pass the requester and the link to the result.
HOW IT WORKS
Set up your first notification
Start with one event, one channel, and one known test recipient. Verify the flow before expanding traffic.
STEP 01
Connect a provider and set up credentials
Connect a supported provider and configure the sender. Set up a DokaAI client key and secret for backend calls and store them on your server.
STEP 02
Configure a handler and template
Choose one channel, add a template with the variables it needs, and select a test recipient. Review the customer preferences and send policy that apply.
STEP 03
Run a controlled test
Use Test Handler in Nudge or run its generated cURL request from a controlled server-side environment. Check the recipient, selected channel, and rendered message.
STEP 04
Connect a backend event and inspect the result
Call the handler when your event occurs. Review the recorded handler event or job, then check the delivery information available for the channel before increasing traffic.
Connect a provider and set up credentials
Connect a supported provider and configure the sender. Set up a DokaAI client key and secret for backend calls and store them on your server.
Configure a handler and template
Choose one channel, add a template with the variables it needs, and select a test recipient. Review the customer preferences and send policy that apply.
Run a controlled test
Use Test Handler in Nudge or run its generated cURL request from a controlled server-side environment. Check the recipient, selected channel, and rendered message.
Connect a backend event and inspect the result
Call the handler when your event occurs. Review the recorded handler event or job, then check the delivery information available for the channel before increasing traffic.
Configure how each notification is sent
Your application owns the event. Nudge holds the handler configuration for recipients, channels, templates, and the providers you connect.
Reusable notification handlers
Set up the recipients, enabled channels, and message configuration for a product event. Reuse the handler whenever that event occurs.
Channel-specific templates
Use variables for details such as an order number or export link. Preview the rendered email with sample values and inspect its HTML before release.
Connect your existing providers
Select a supported provider for each external channel and verify its sender settings. Test a new provider or channel before using it in a live flow.
Customer notification preferences
Select the groups or topics that apply to the handler. Check eligibility for each configured channel and test recipients with different preferences.
Send policies and quiet hours
Review the policy for the channel and notification type. Check how a configured quiet-hours rule or organization or user send limit affects the send. A policy can delay a notification when that action applies.
Customer-scoped inbox and preferences
Use a customer JWT for in-app inbox and preference APIs. Generate it on your server for the authenticated customer and keep the signing private key there.
Notification observability and rollout
Use recorded handler events, job status, and the delivery information available for each channel to validate a flow before you expand it.
Inspect handler events and jobs
Open the handler event or job record to see the execution information available after a trigger. Use that record as the starting point when a notification behaves unexpectedly.
Check delivery after a successful trigger
A successful trigger confirms the API request succeeded. Check the execution or provider delivery status available for the configured channel before treating the message as delivered.
Verify preferences and send policies
Test eligible and ineligible recipients. For a flow that uses quiet hours or send limits, check the policy for that channel and notification type and confirm the behavior you expect.
Add a channel to a tested flow
Connect the provider where required, configure the new channel template, and verify the sender and data with a test recipient before enabling live sends.
Expand traffic in stages
Start with a controlled audience. Check available plan usage, applicable send policies, and provider limits as volume increases. Use the results to plan the next rollout stage.
Measure engineering effort in the pilot
Record the time to ship the first flow, change a template or add a channel, and investigate a failed send. Compare those results with your current approach before estimating ROI.
Engineering FAQs about the notification API
Use x-client-key and x-client-secret for server-to-server triggers. Use a customer JWT for customer-scoped inbox and preference APIs. Keep client secrets and signing private keys on your server.
Pilot one notification flow
Bring one product event. Connect a supported provider, configure a handler, and verify the message with one test recipient.
